 PDigger
Step 1
Get the app
Open the DMG from Download for Mac, drag PDigger to Applications, and eject the disk image. Open PDigger from Applications.
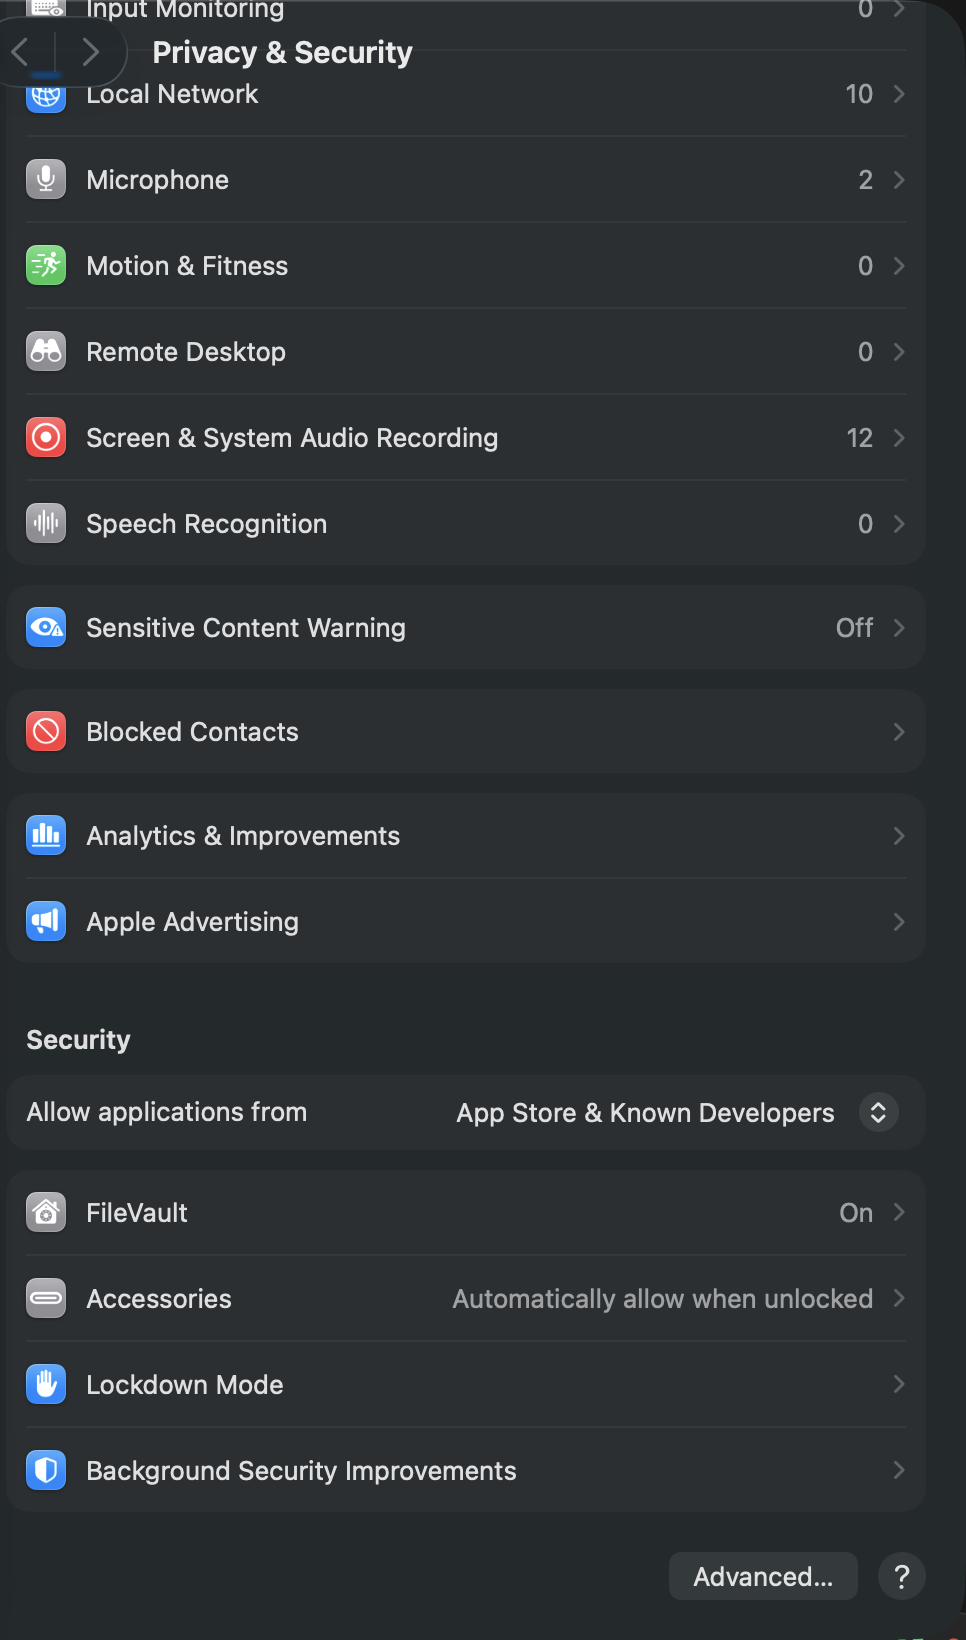
If macOS blocks an unidentified developer:
- Open System Settings → Privacy & Security (sidebar).
- Scroll to the Security section. After you try to open PDigger, Open Anyway appears there. Confirm Open.
- Leave Allow applications from on App Store & Known Developers. Managed Macs may prohibit the exception. Do not disable Gatekeeper globally.
Step 2
First launch
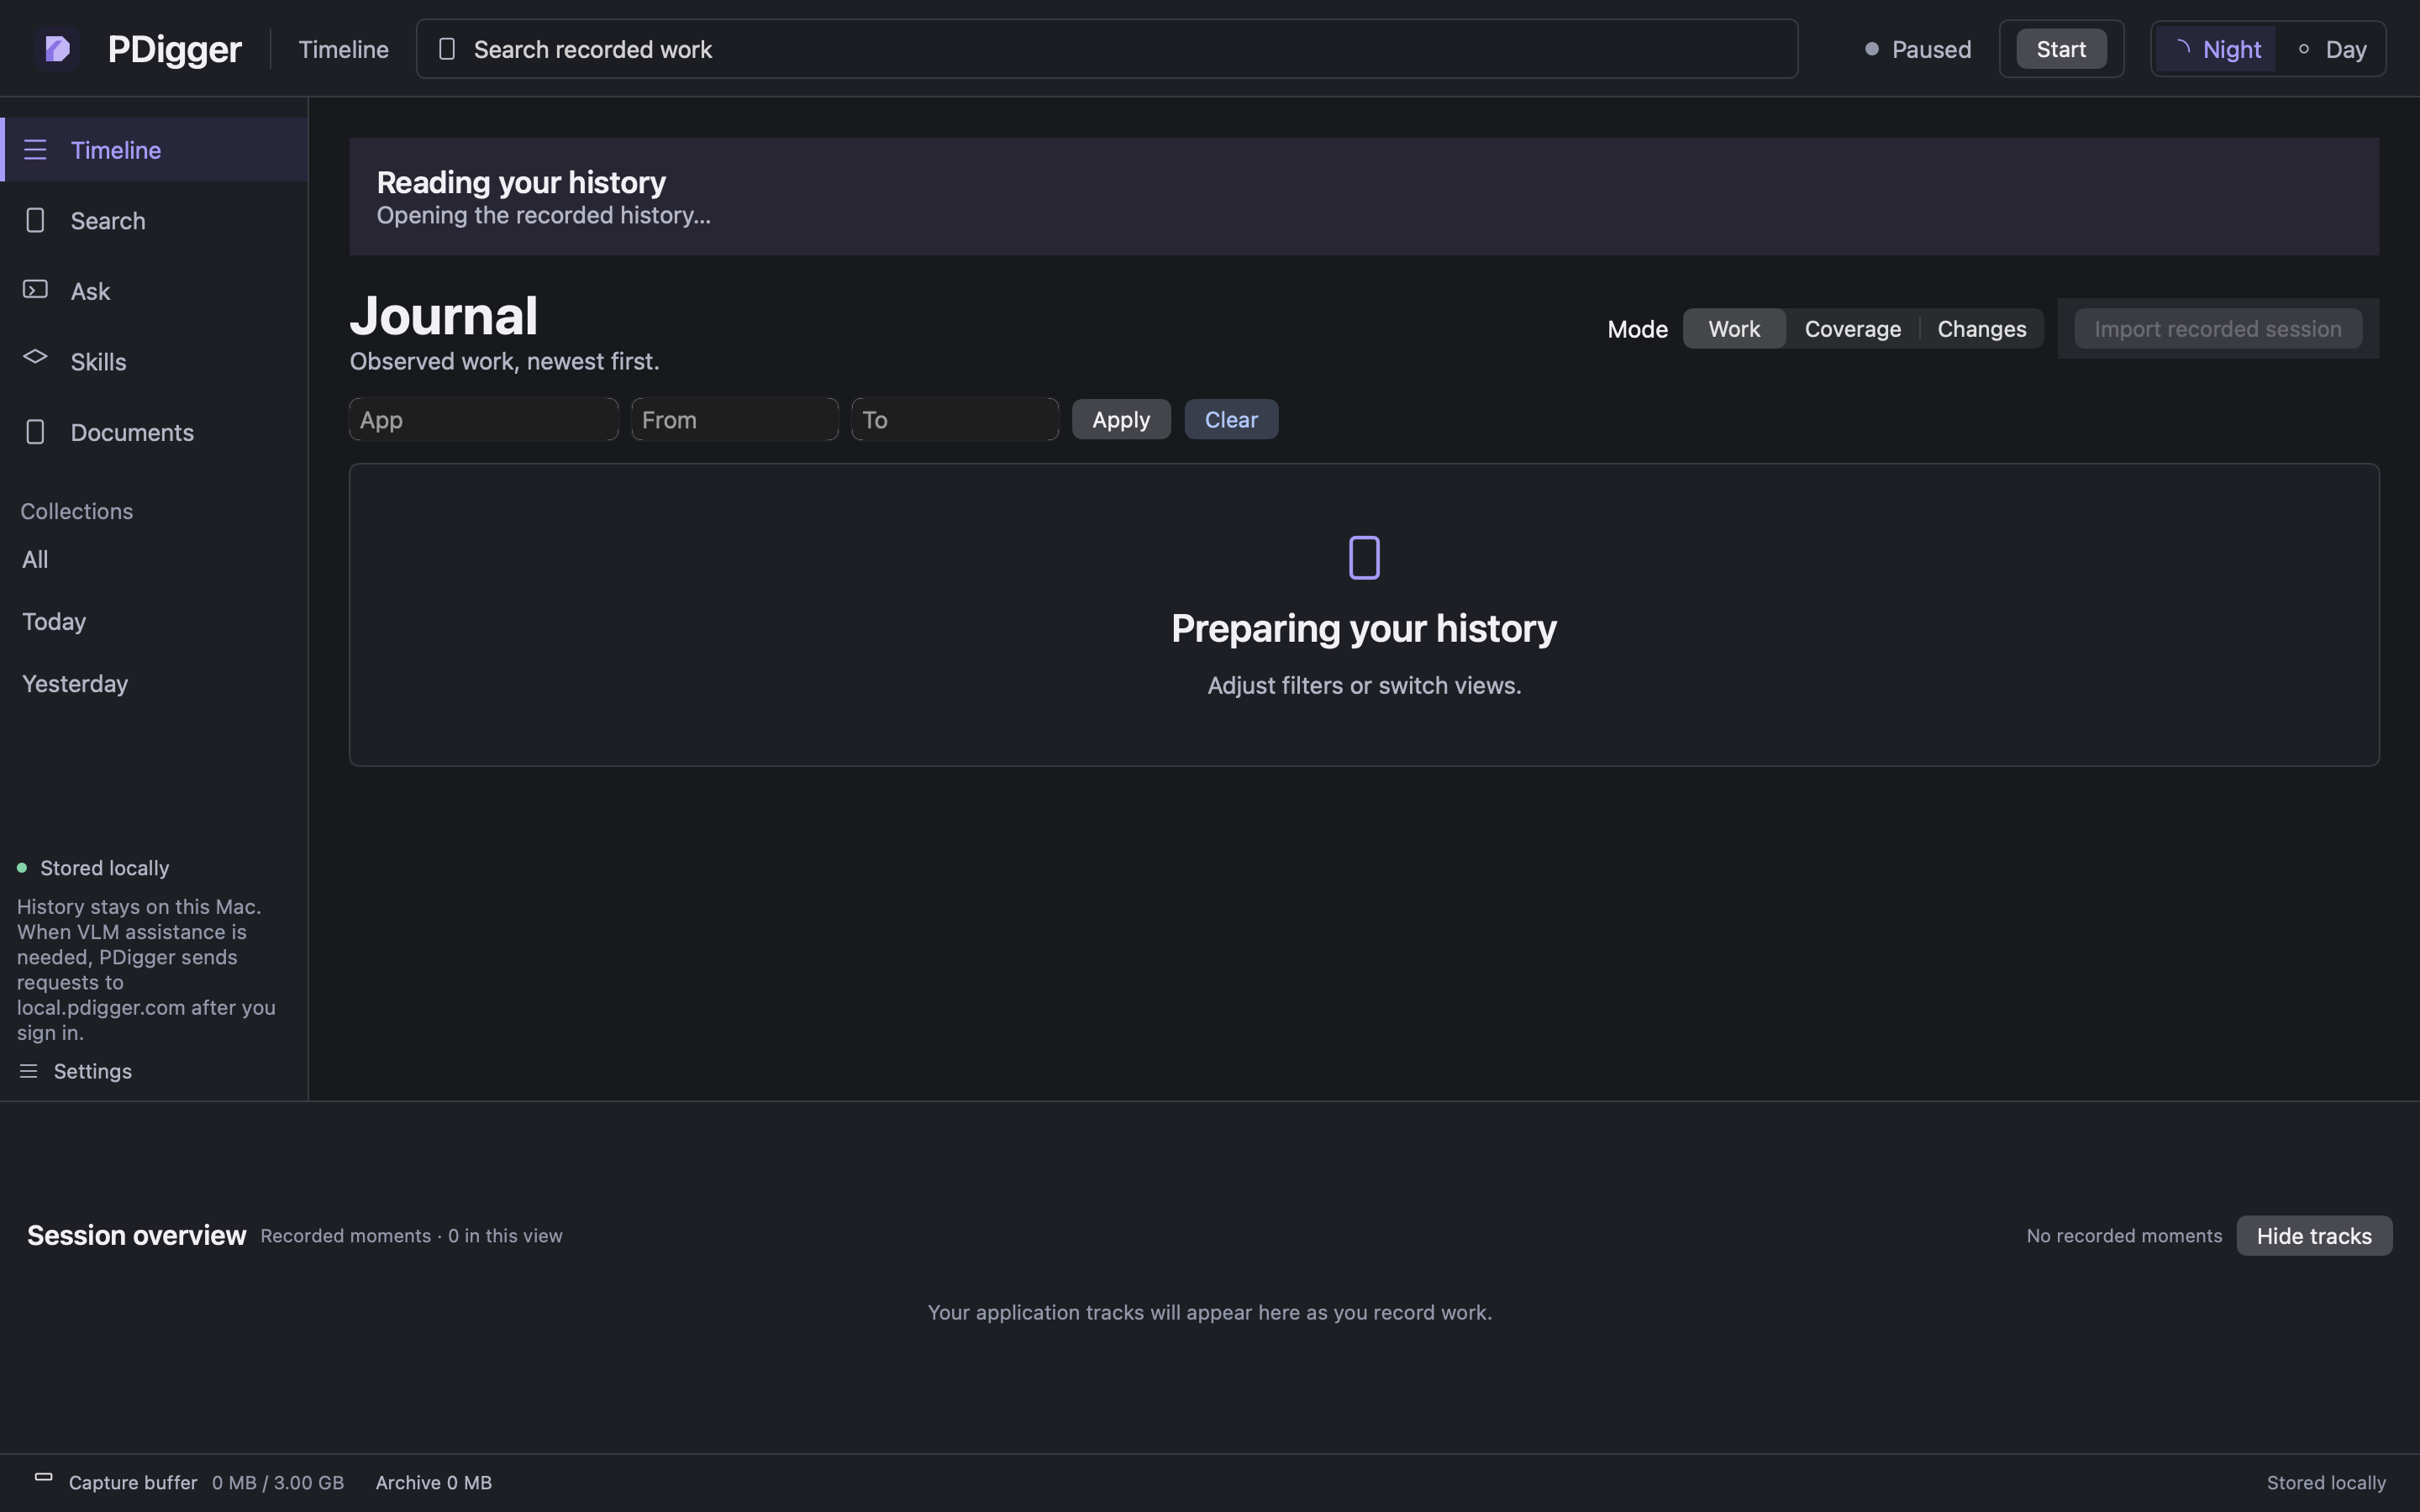
The window opens at once. While local storage opens, PDigger shows Preparing your history (and Reading your history while the history file is scanned). Launch, status and Start never present permission sheets.
Step 3
Capture access
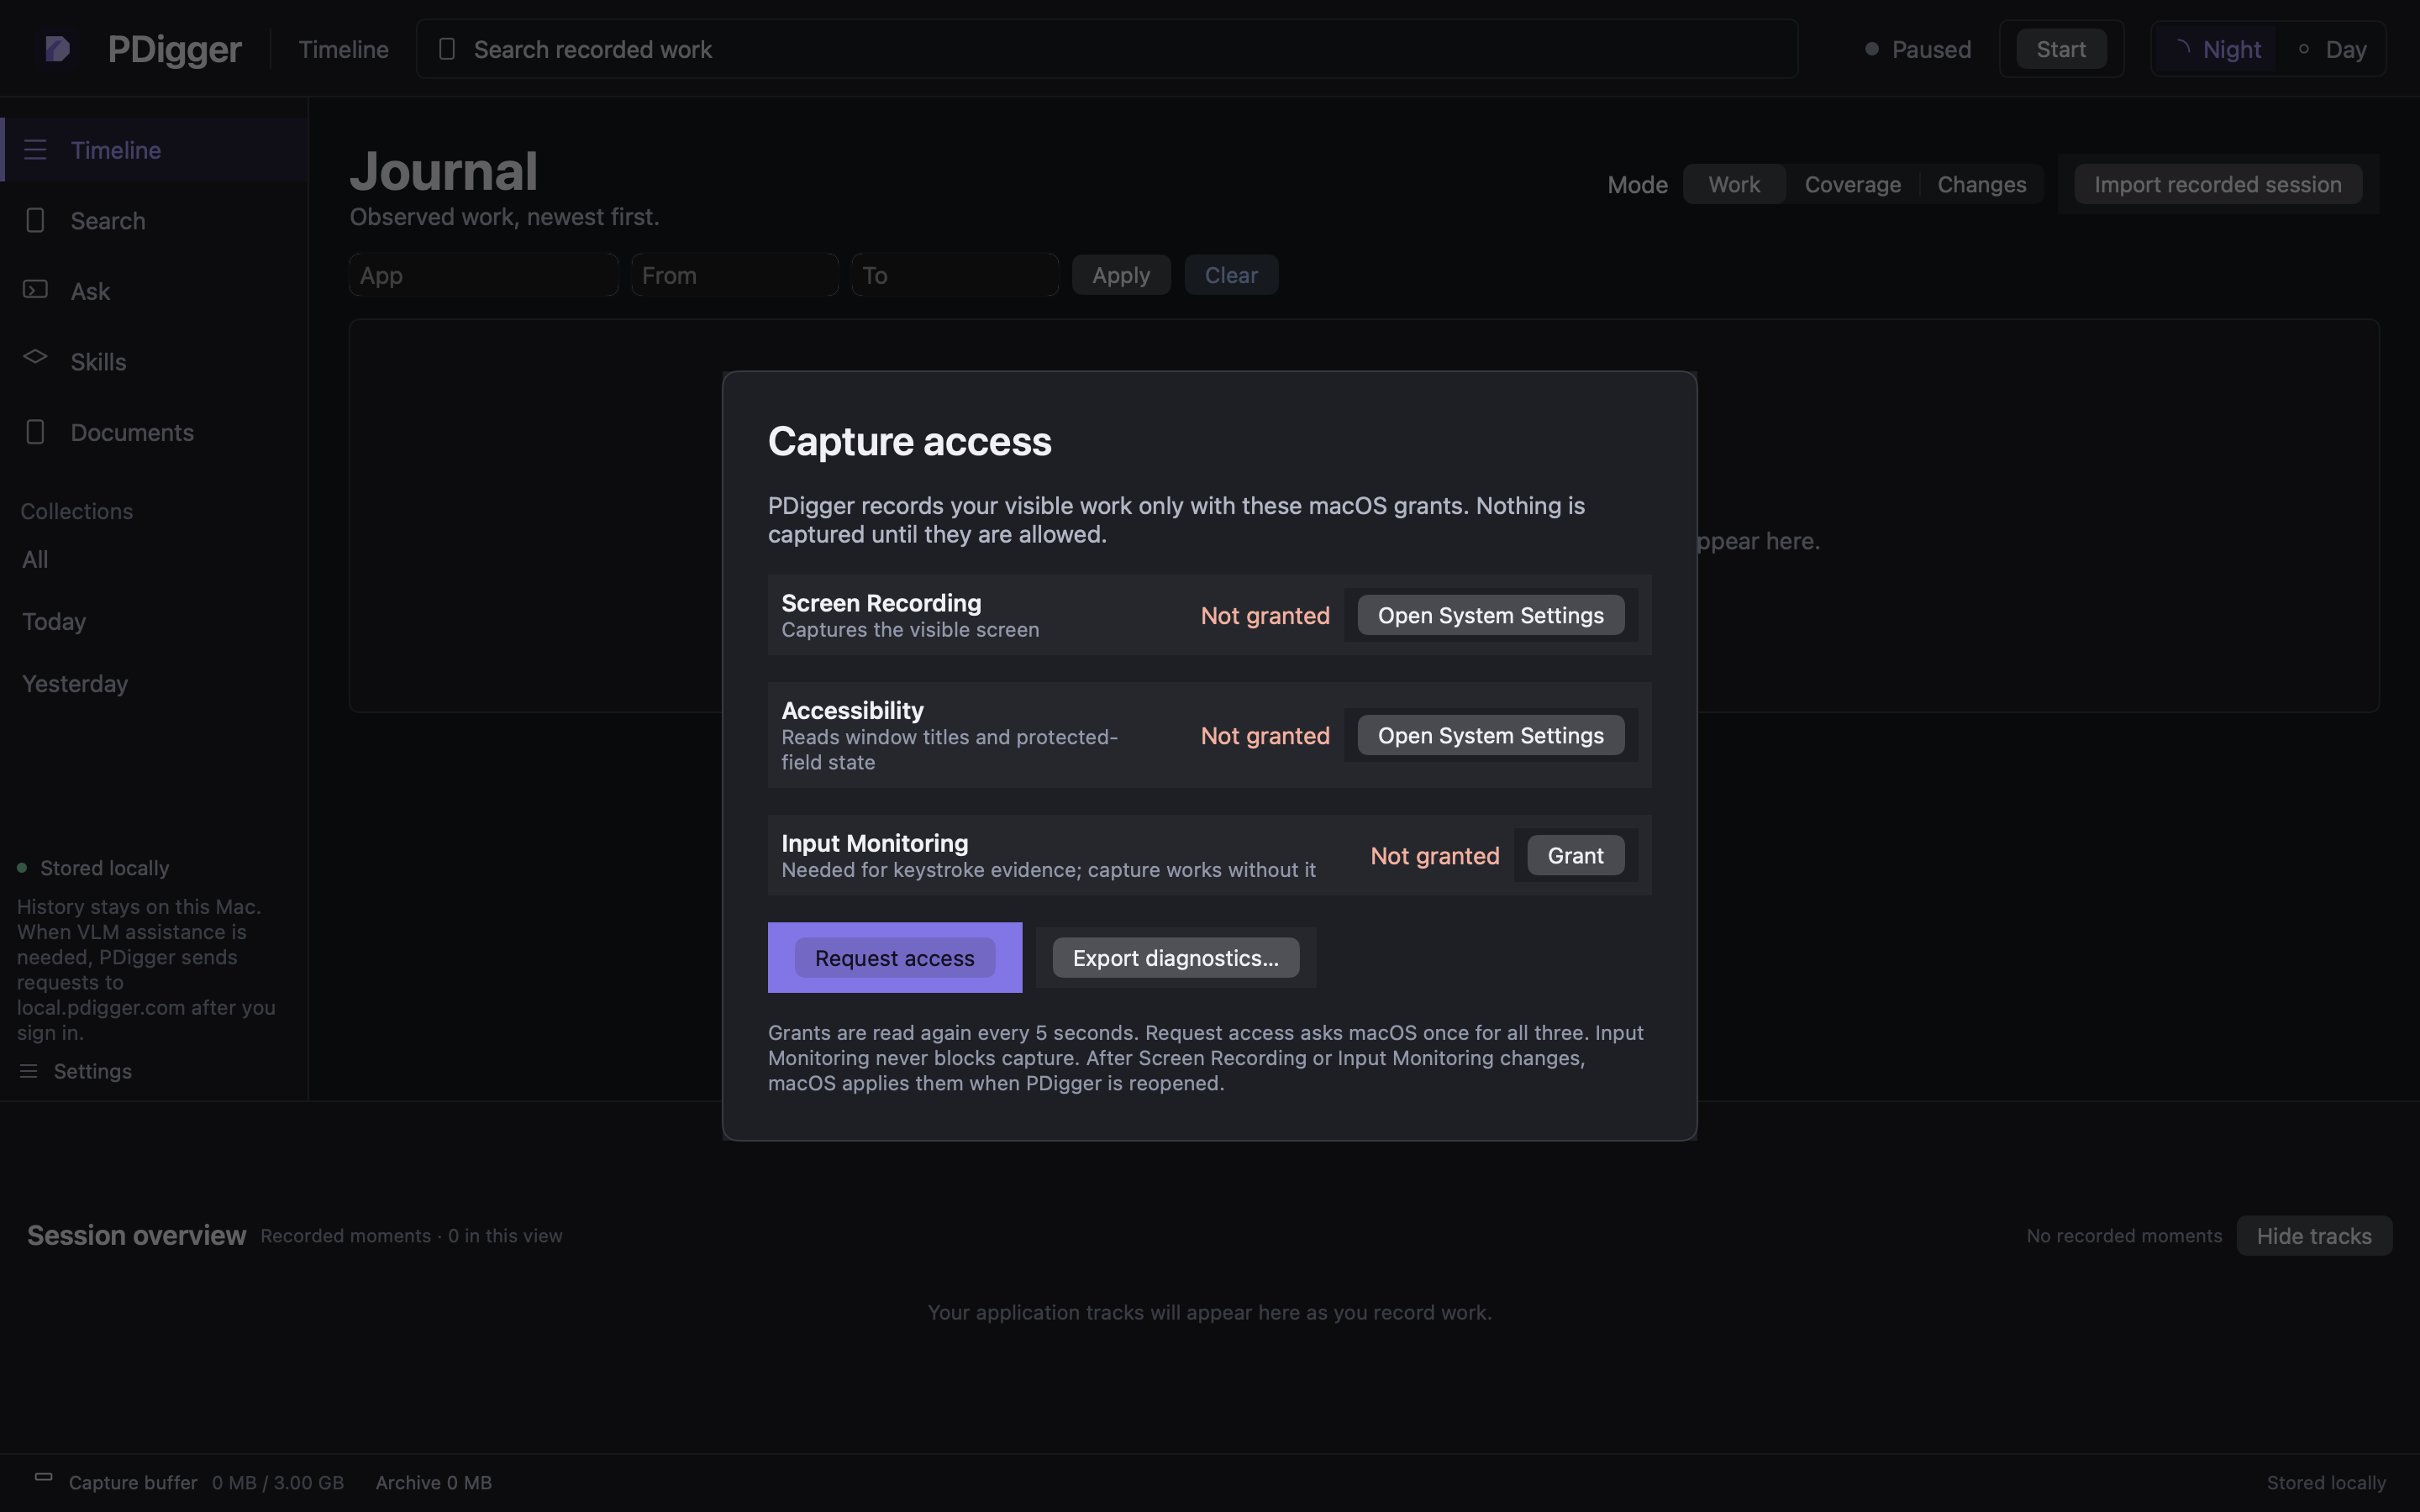
Until Screen Recording and Accessibility are granted, a Capture access dialog stays in front of the workspace. Each row shows Granted or Not granted. Request access asks macOS once for all three panes. Open System Settings opens that row’s pane.
Input Monitoring is listed too, but it does not block capture. Without it there is no keystroke evidence. After Screen Recording (or Input Monitoring) changes, quit and reopen PDigger so macOS can apply the grant. Start and Pause never prompt. Existing permission entries are never cleared by the app.
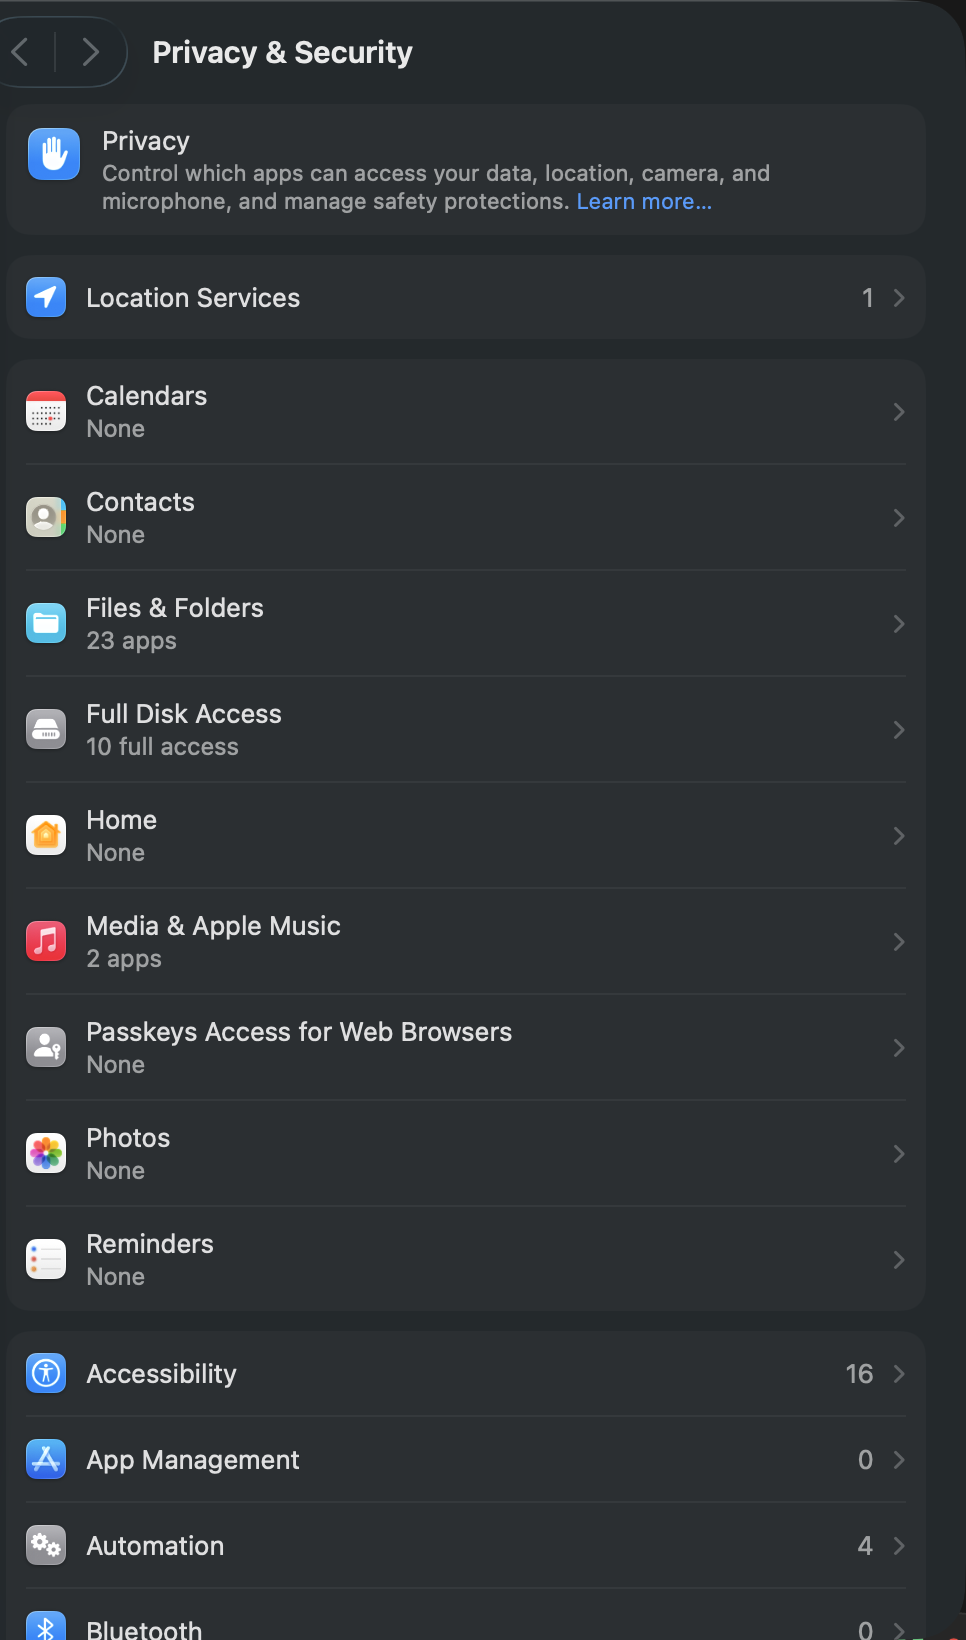
In System Settings, grant the toggles like this:
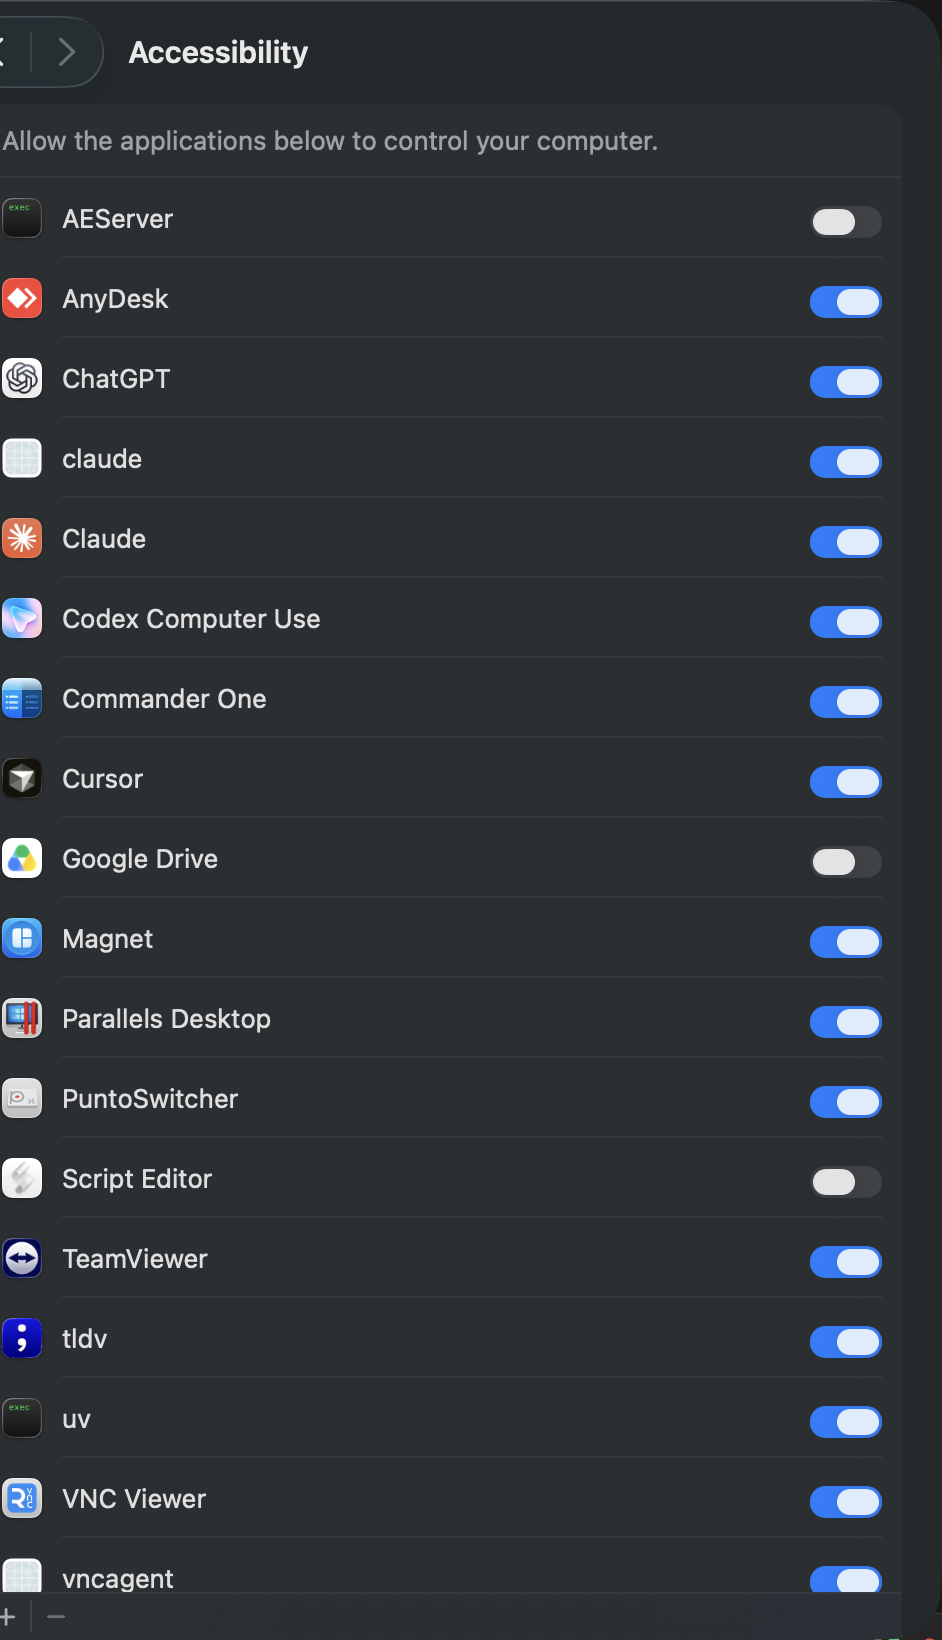
- Open Privacy & Security. Click Accessibility.
- Turn on the switch next to PDigger. If it is missing, press Request access in the app, or the + under the list and choose PDigger.
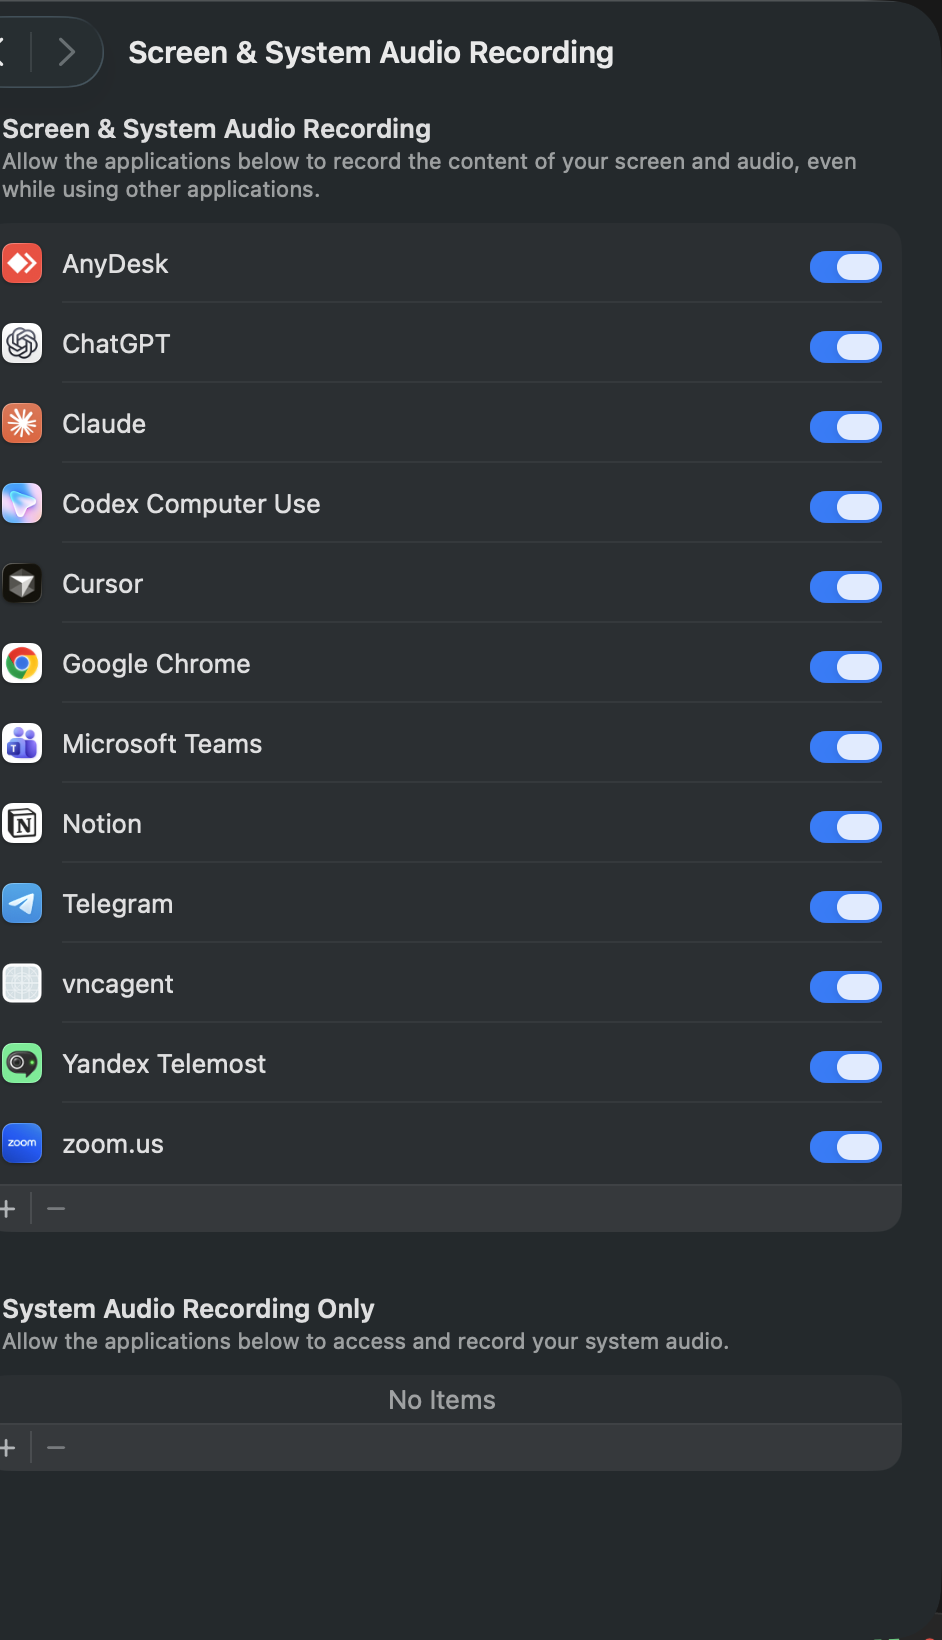
- Go back, then click Screen & System Audio Recording. Turn on PDigger the same way (or +).
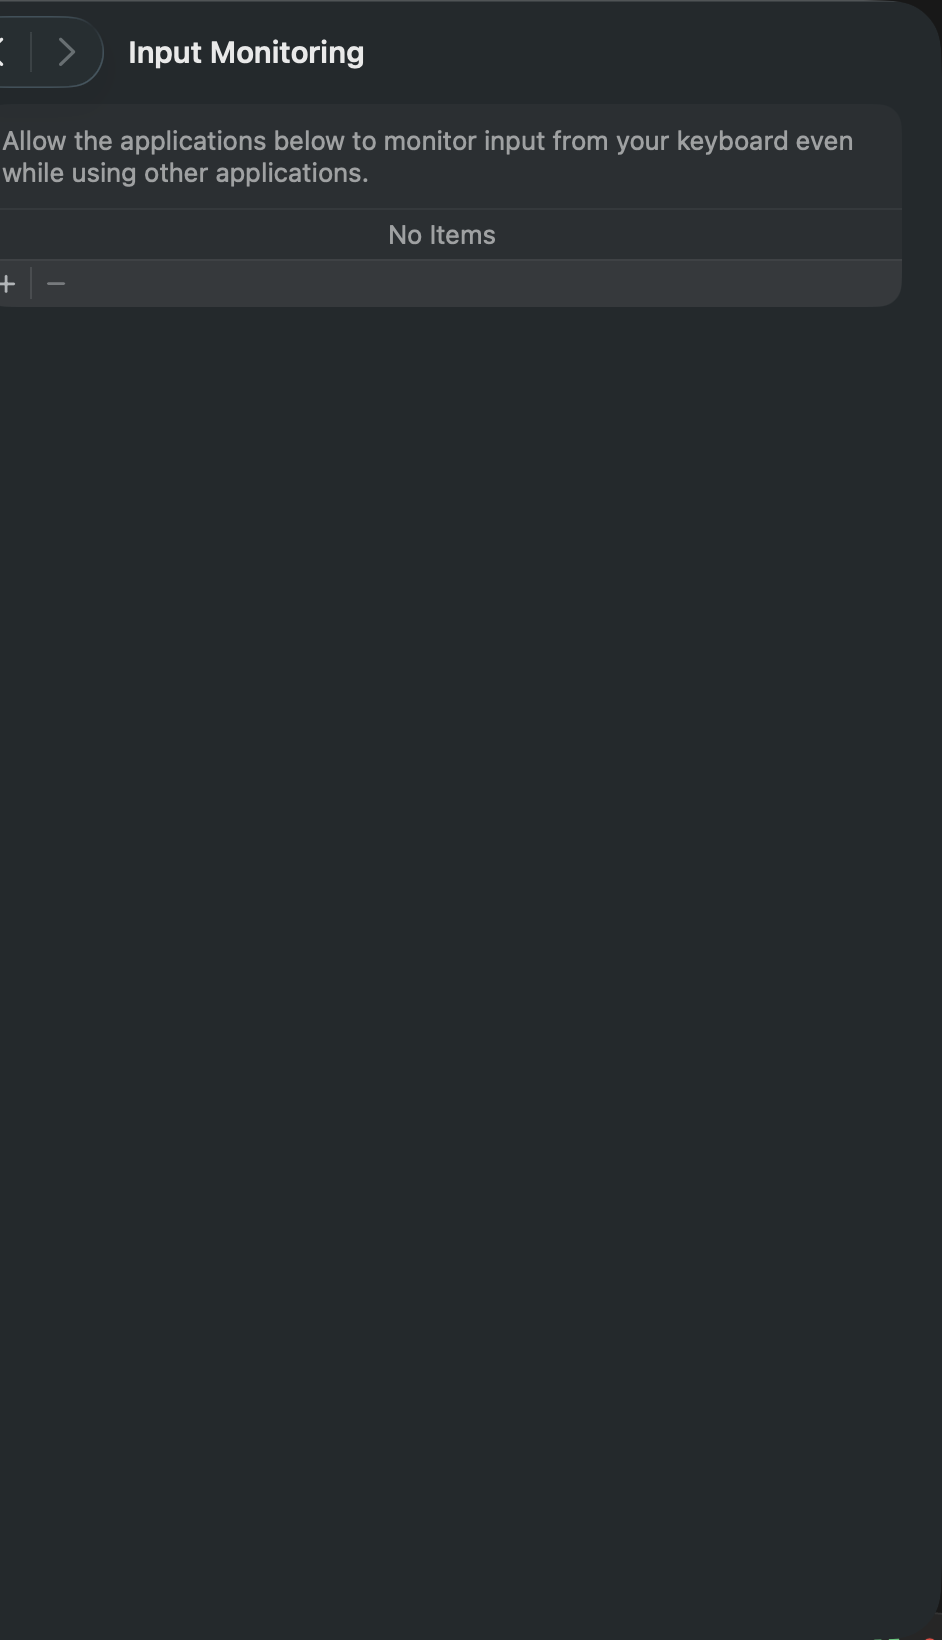
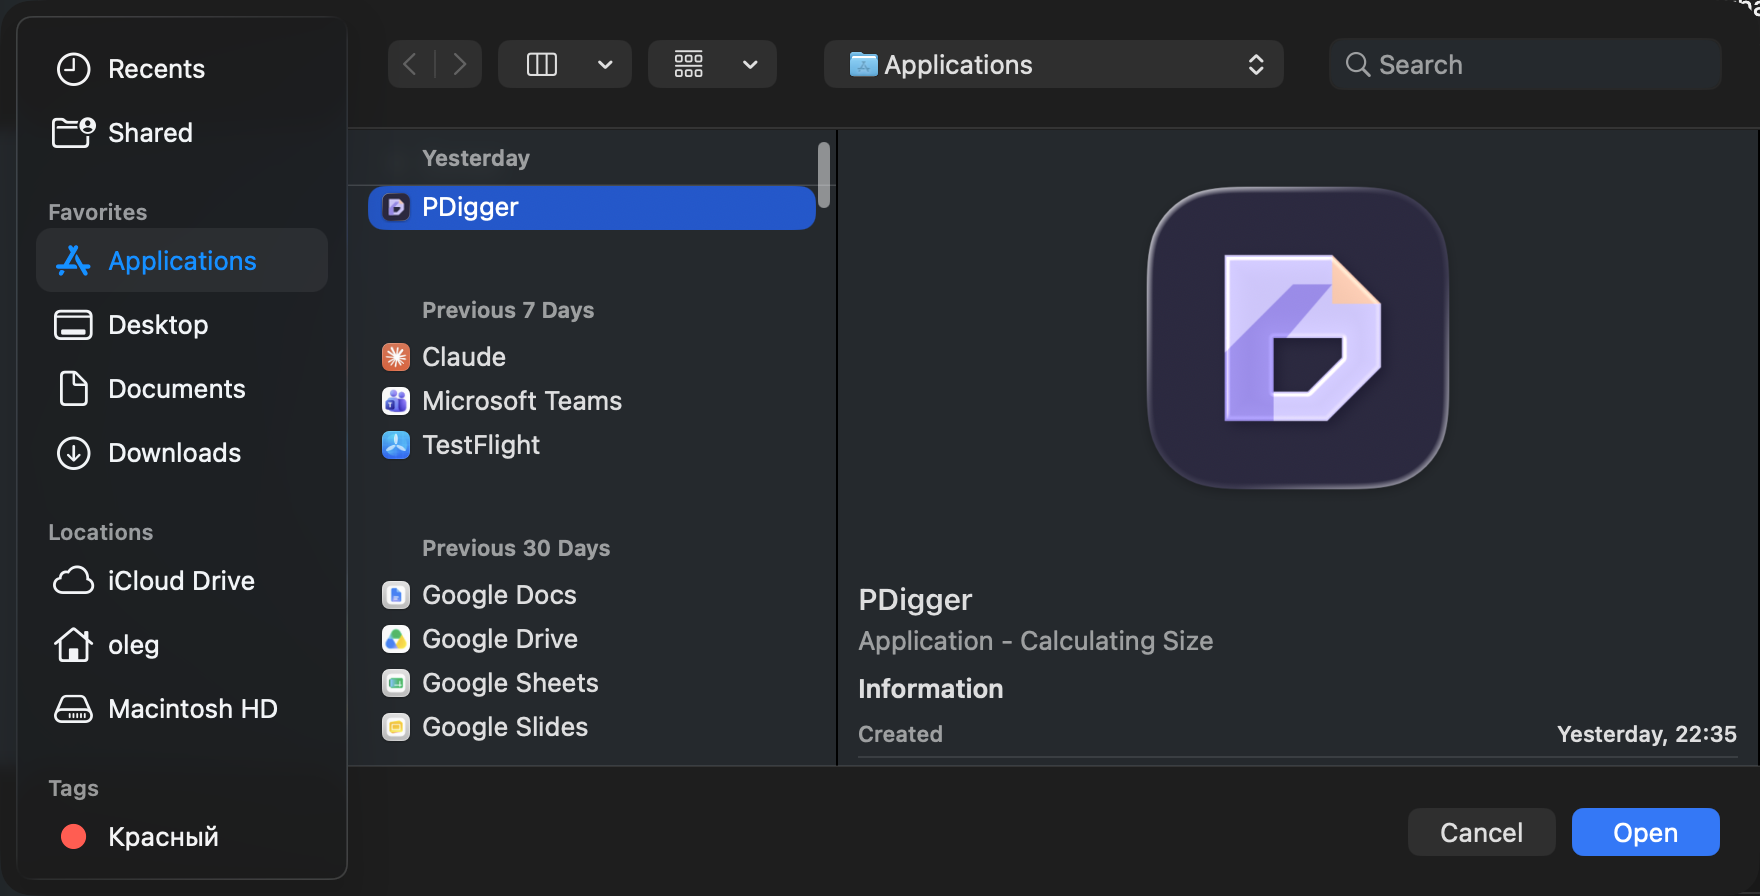
- Optionally open Input Monitoring. If the list is empty, press +, choose PDigger in Applications, then Open — or use Request access in the app. Turn the PDigger switch on. Capture still works if this list stays empty; keystroke evidence is then unavailable.
- Quit PDigger and open it again after Screen Recording changes.
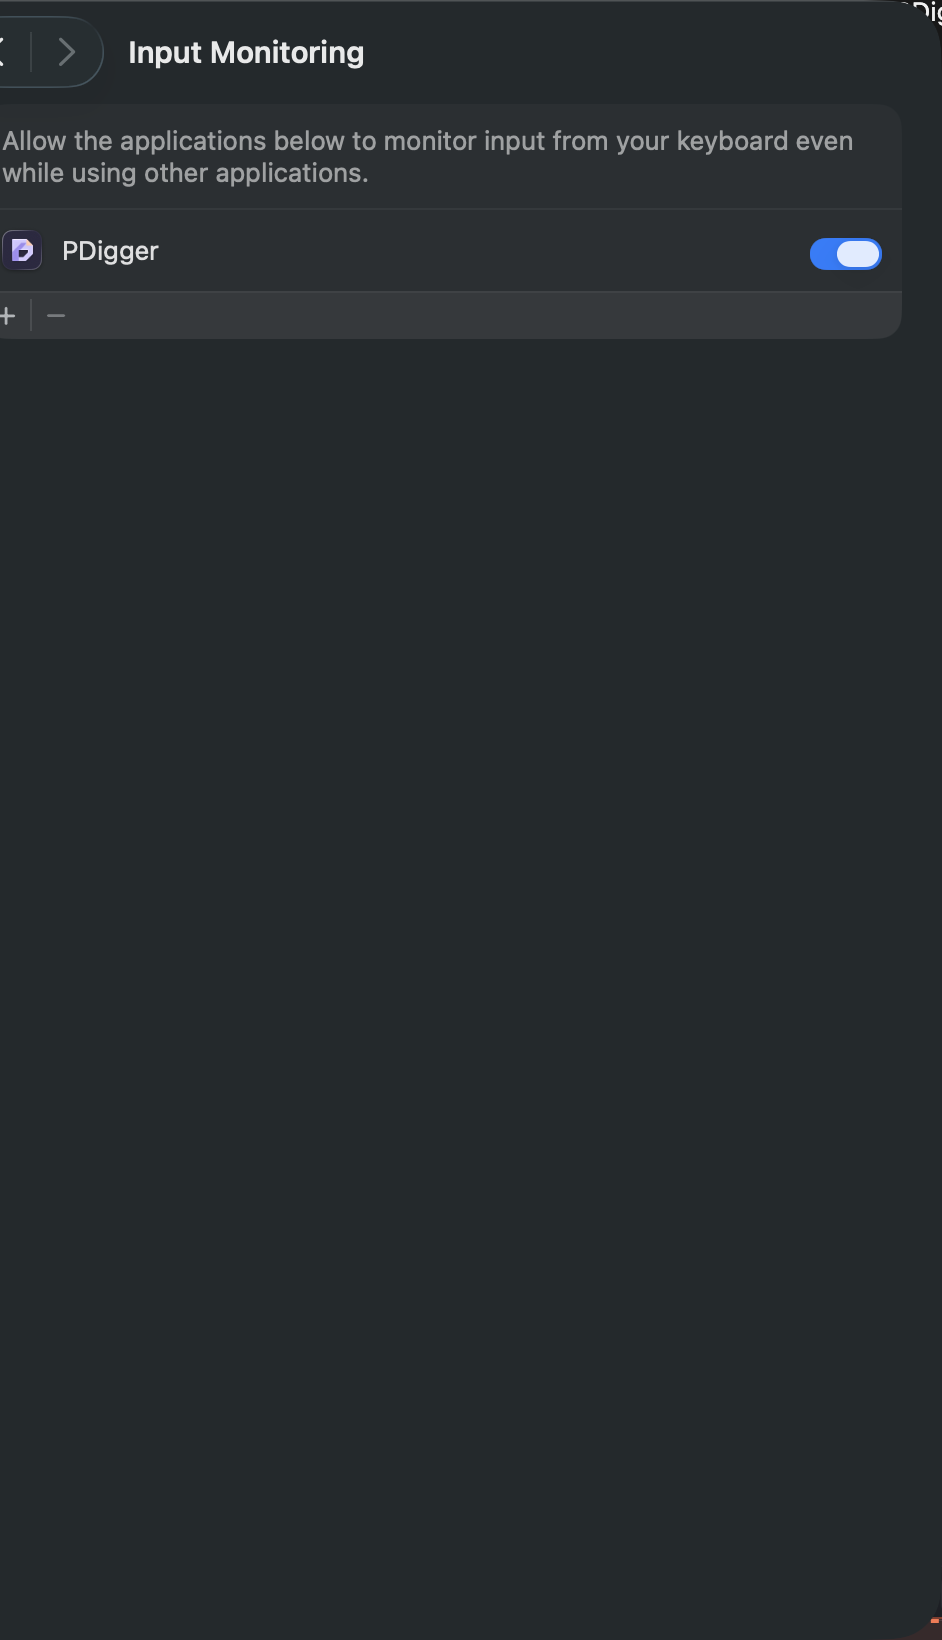
Do not replace the app to troubleshoot an enabled switch, and do not reset TCC as routine work.
Step 4
Sign in
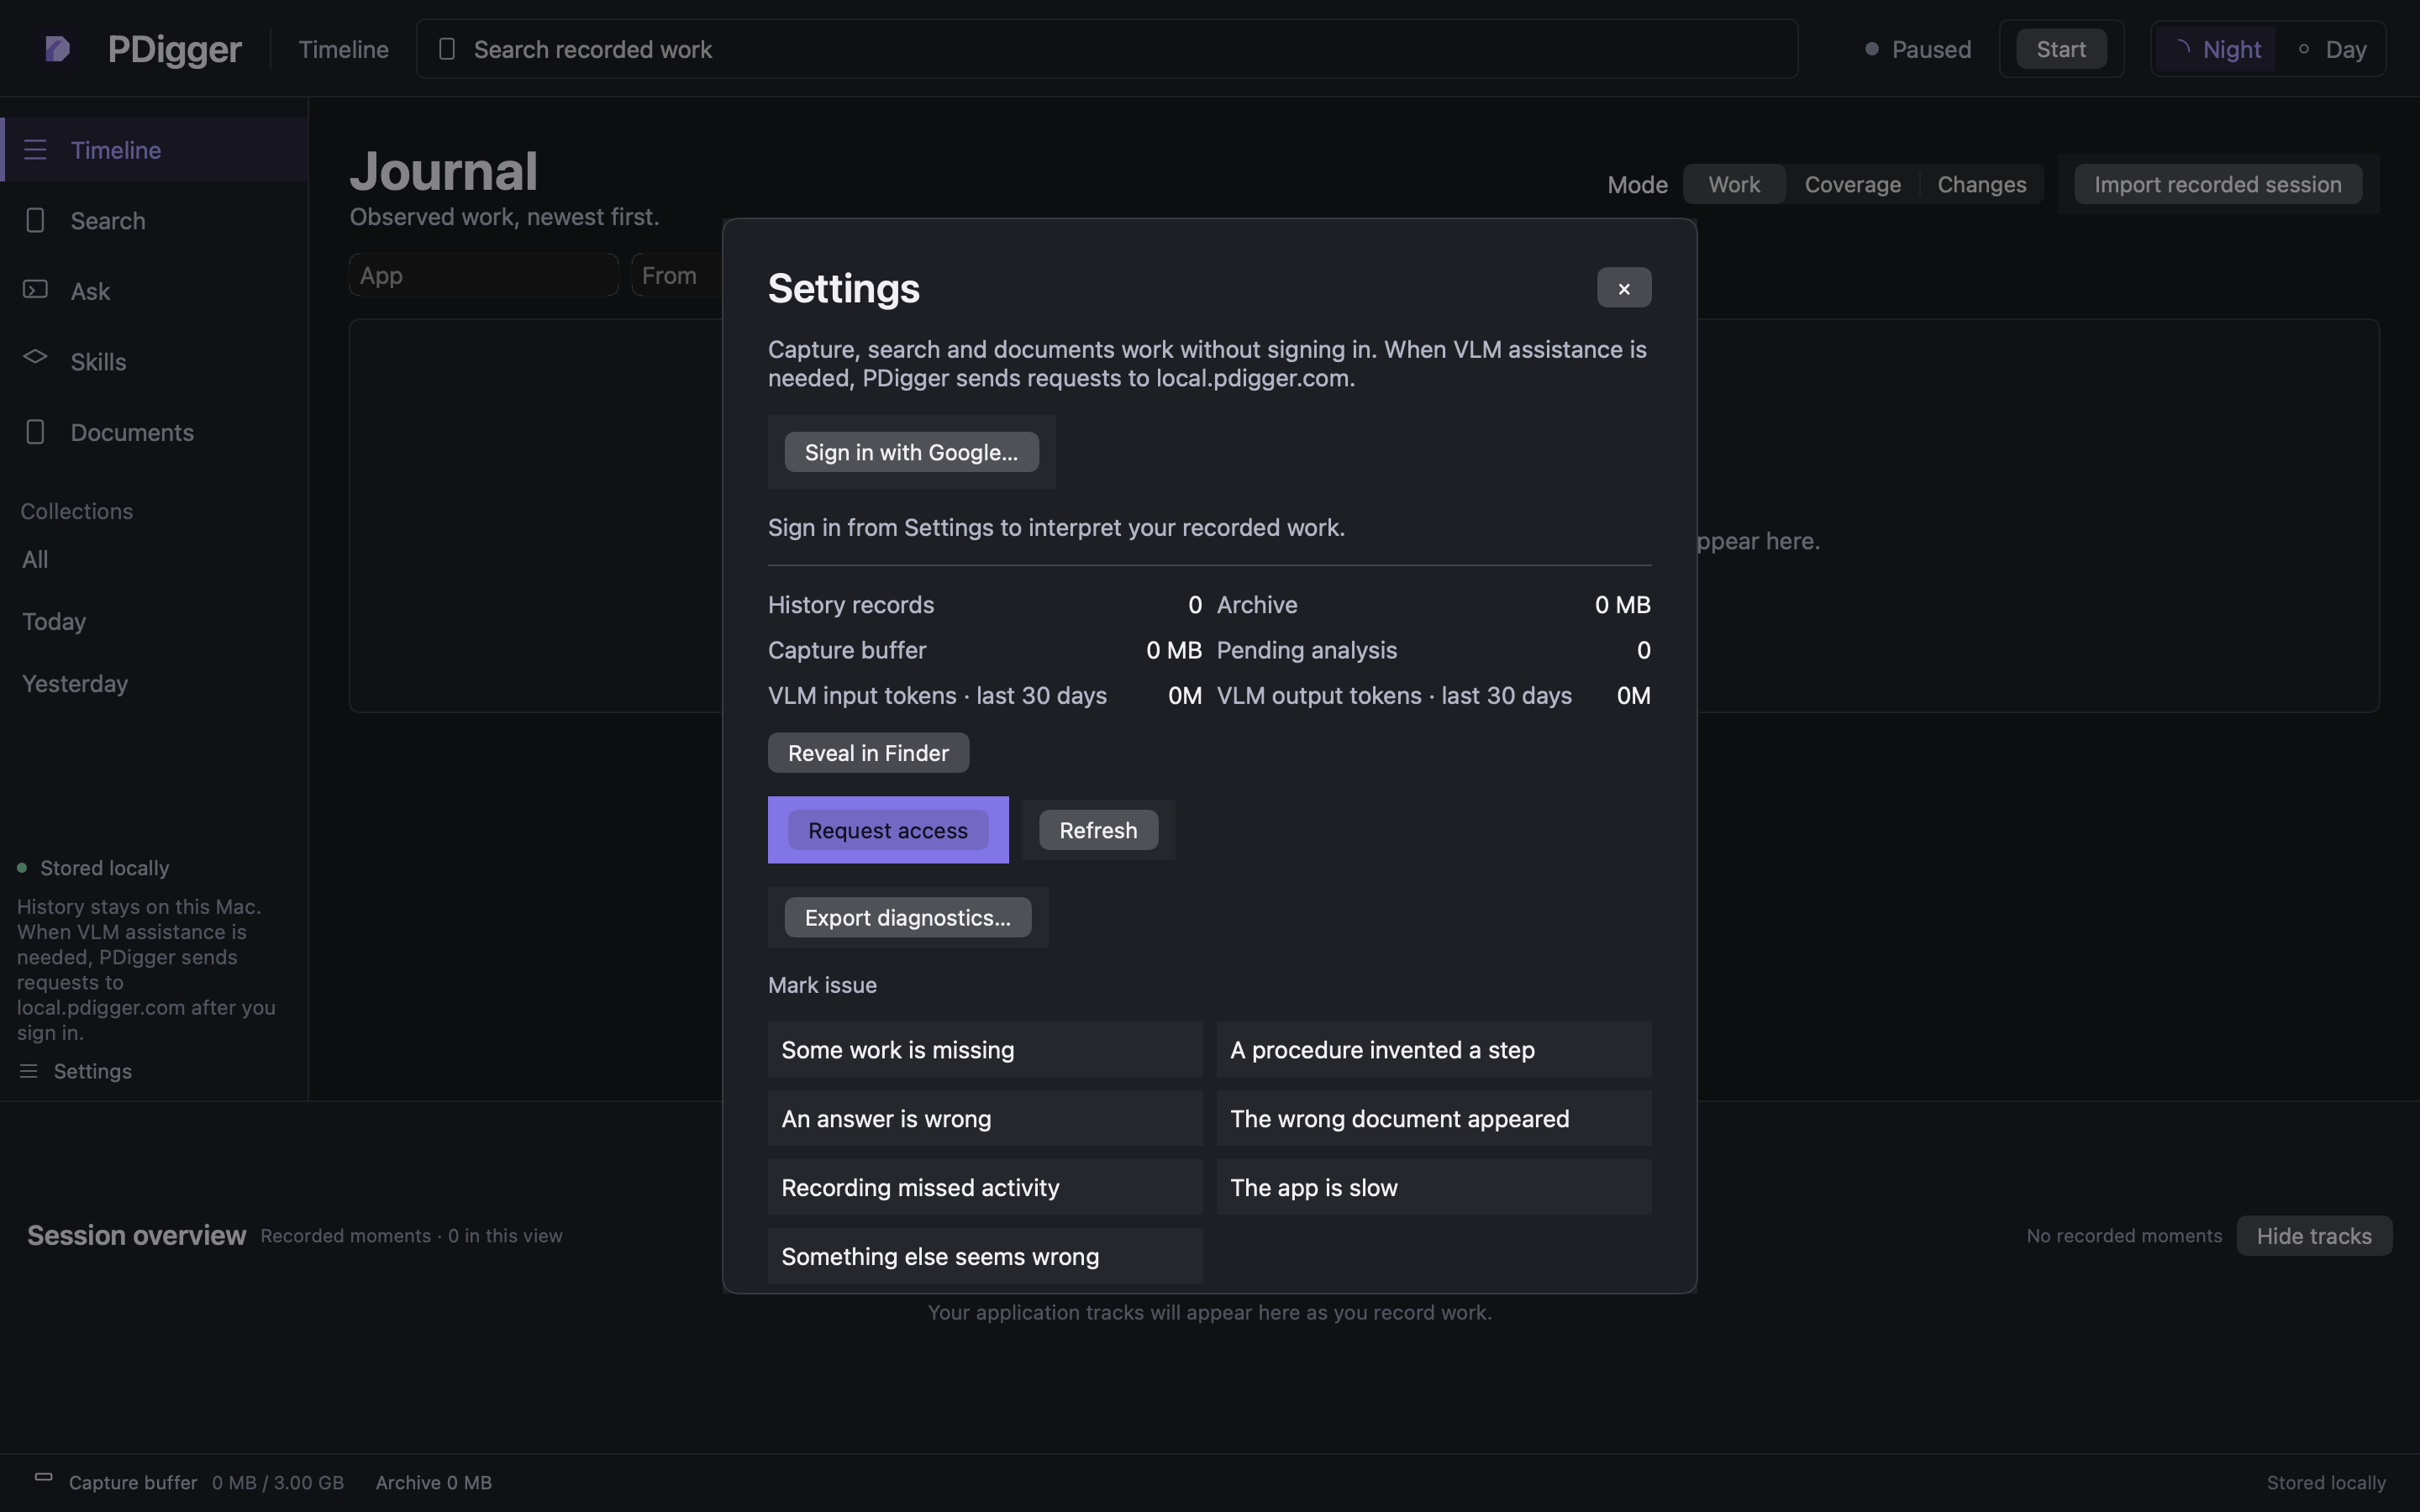
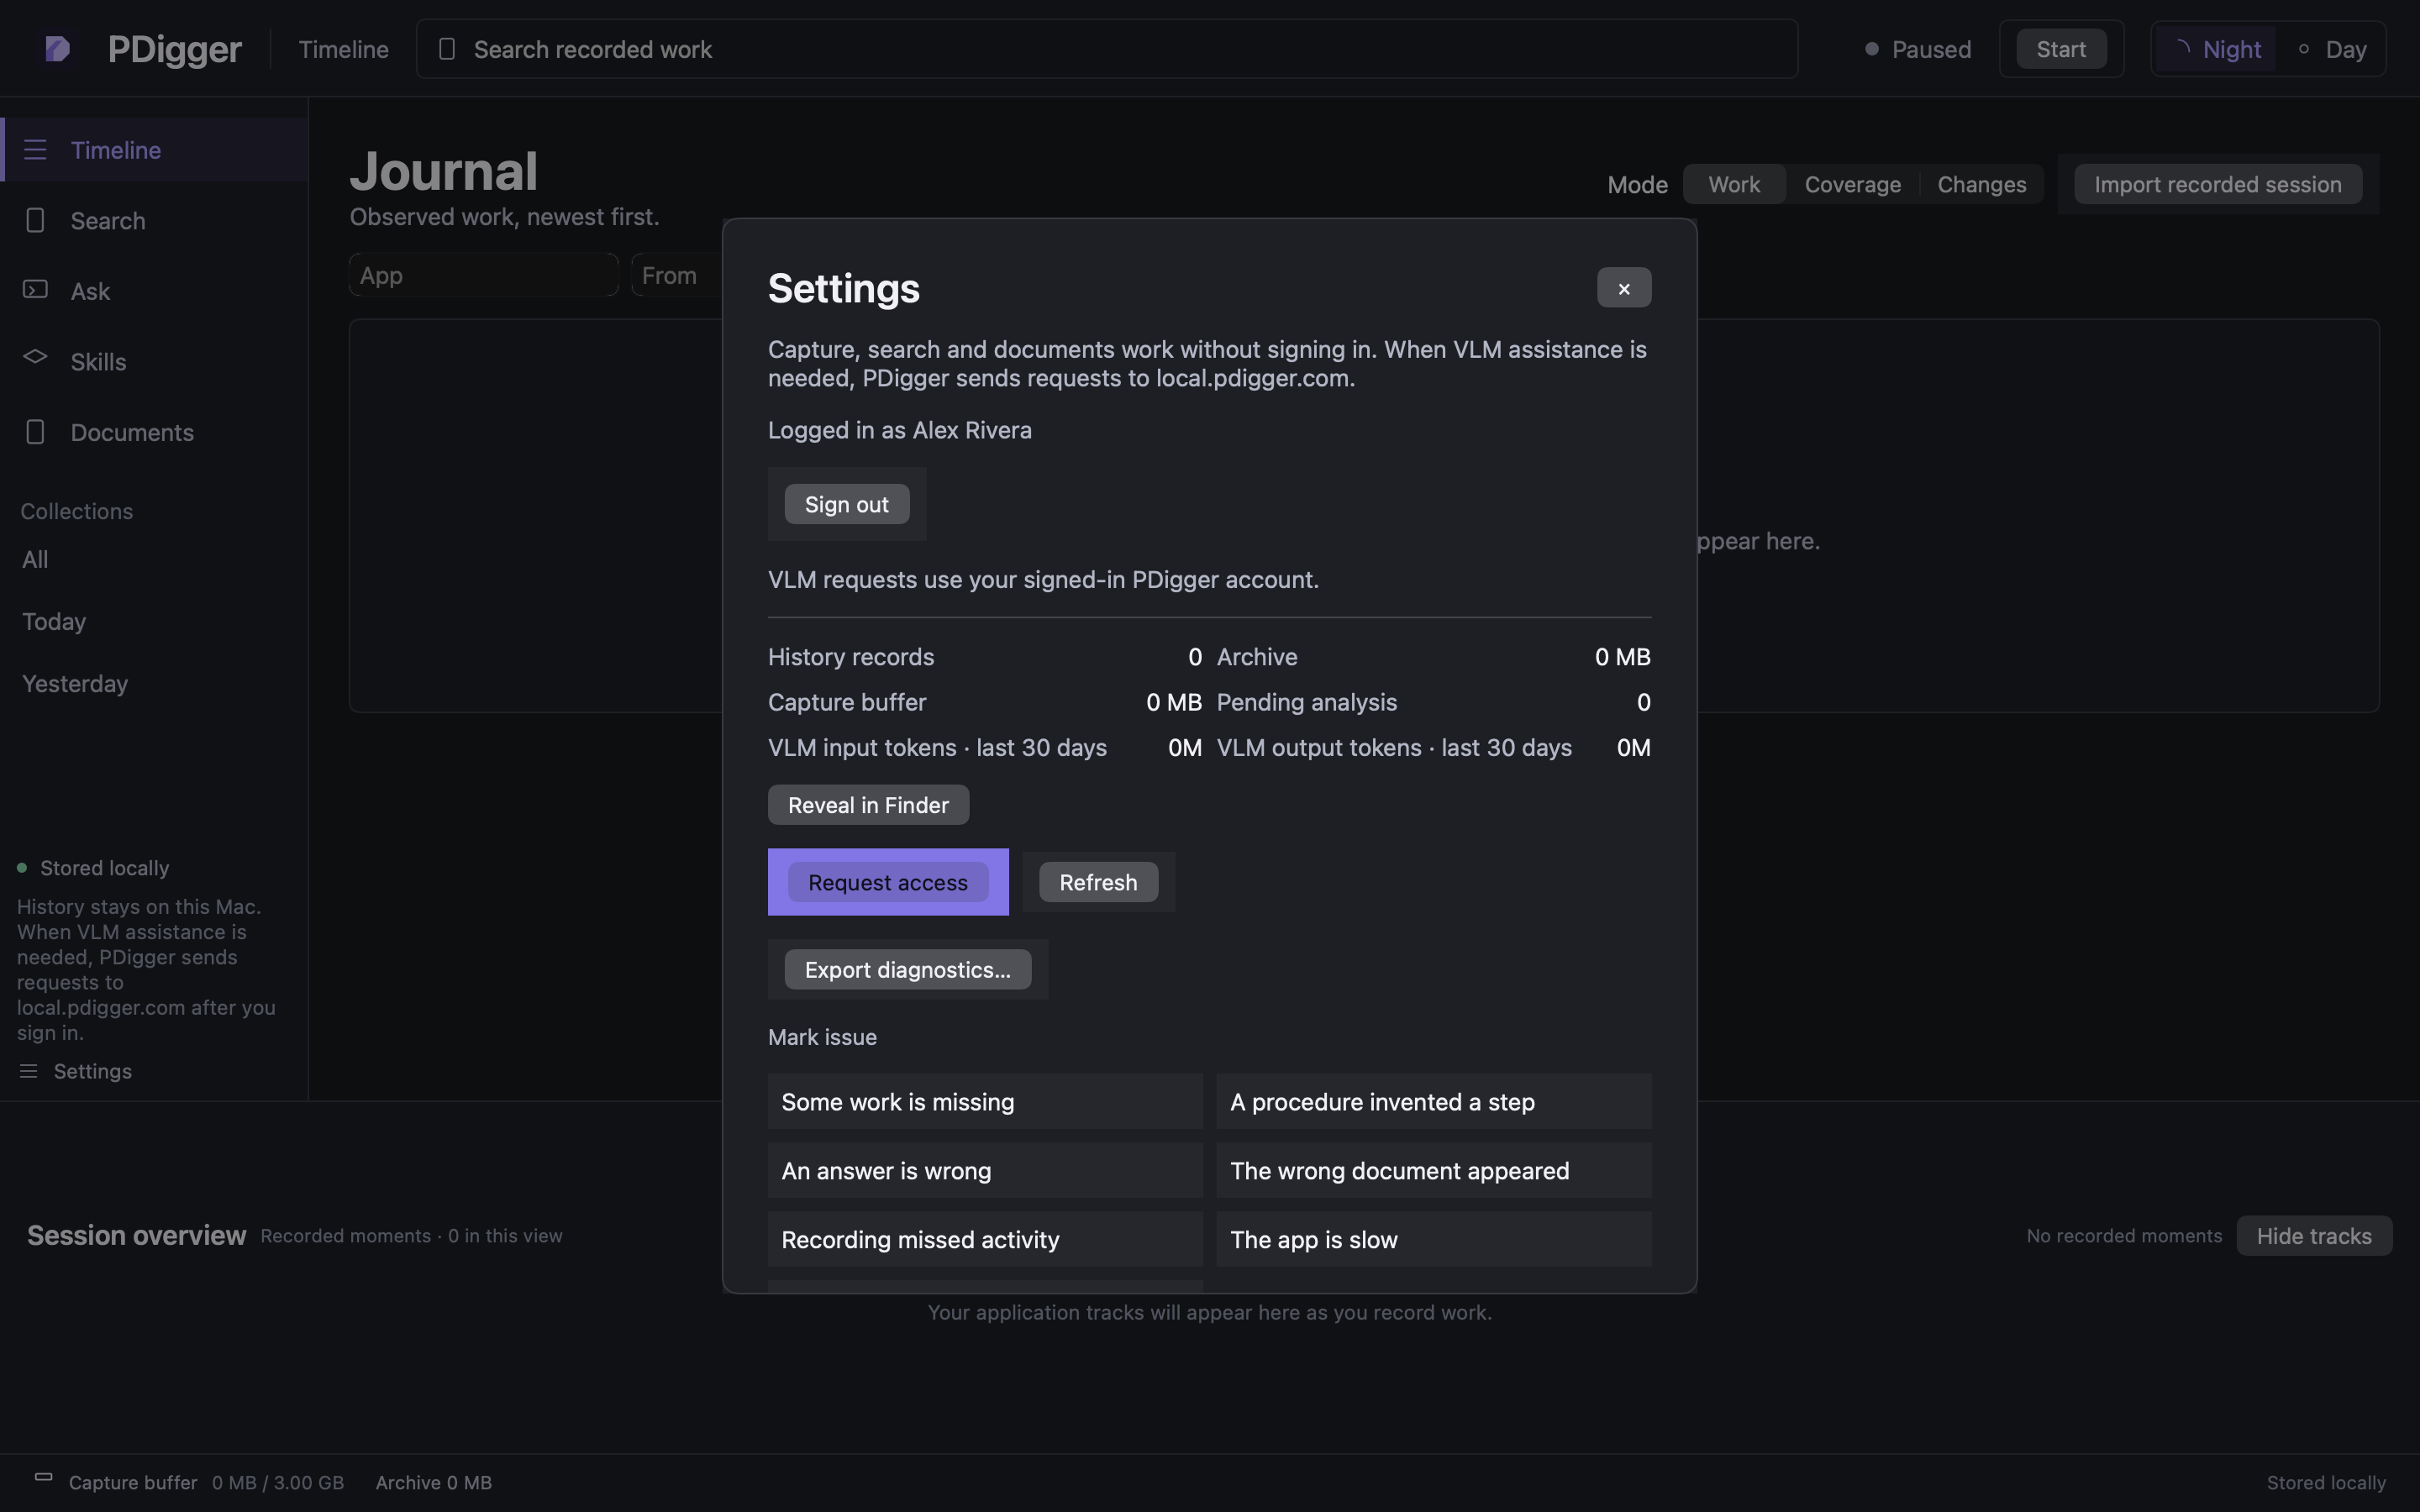
Open Settings and choose Sign in with Google…. Your default browser opens. Return to PDigger when the signed-in page appears (“You’re signed in.”).
Capture, Search and Documents work without sign-in. Ask, Skills and checkpoints need it. This app never reads a .env file and never shows an operator API key.
Step 5
Start recording
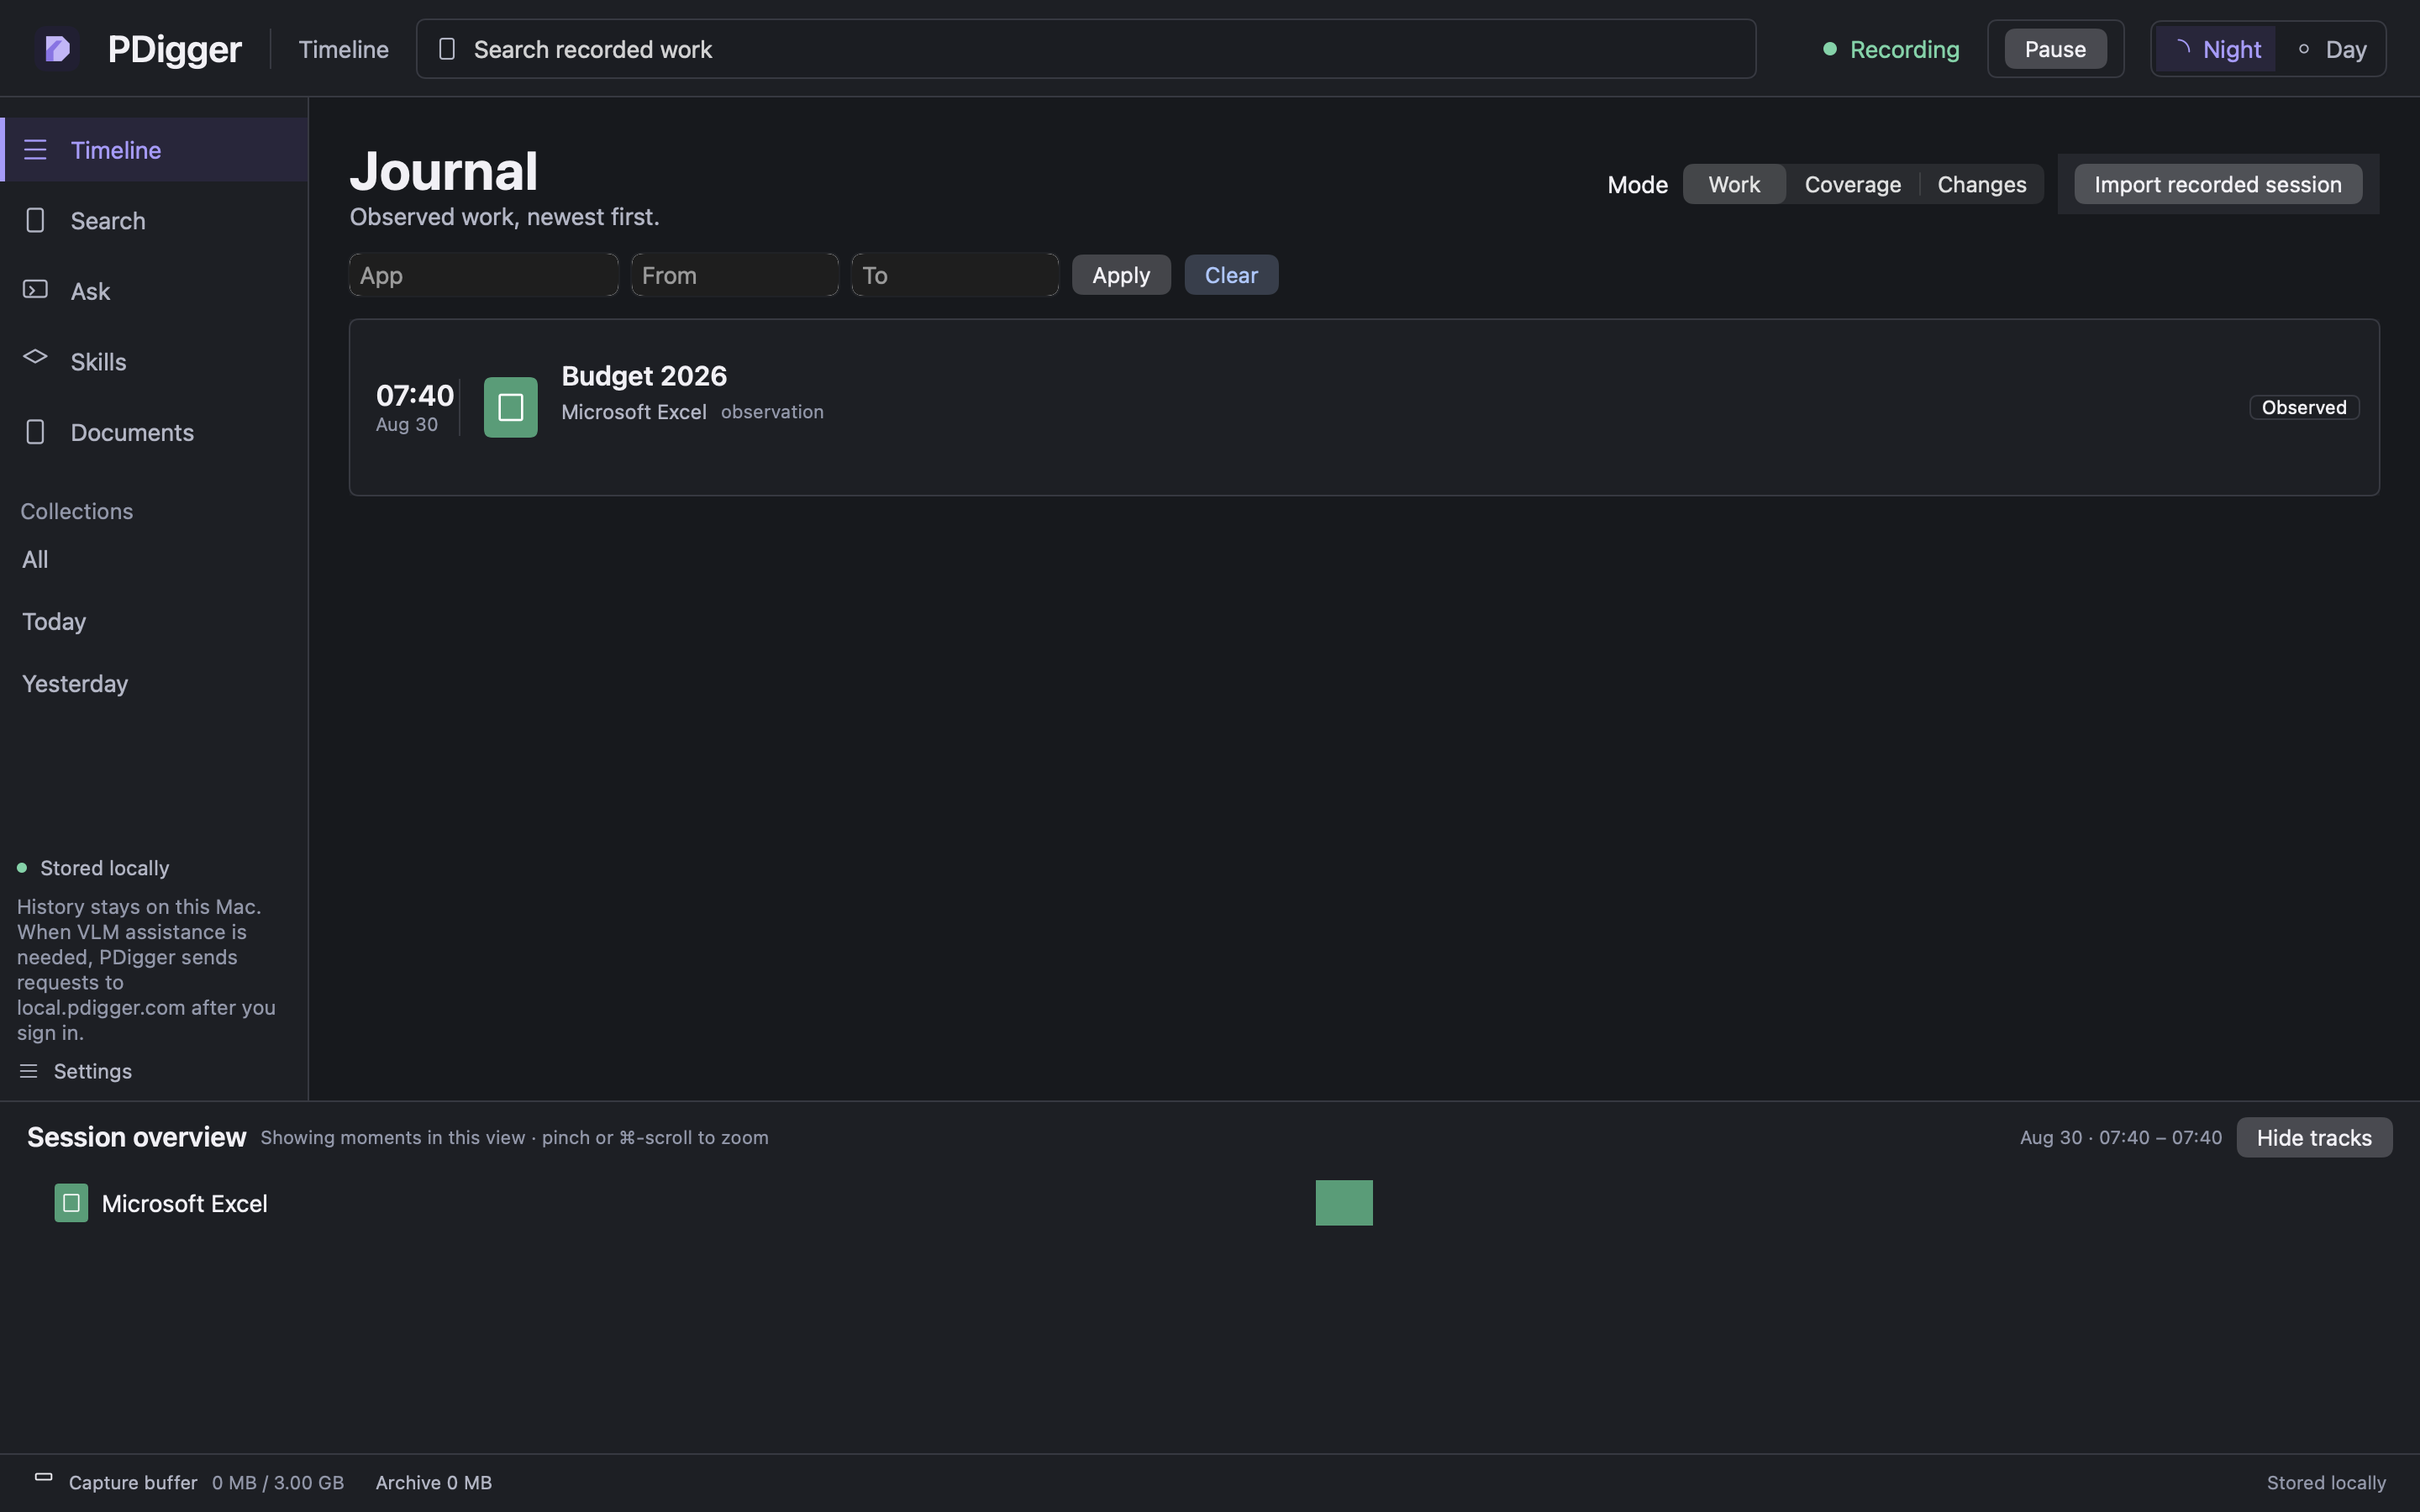
Press Start in the top bar. Status shows Recording. Work in visible windows as usual, then press Pause when you are done. Start never presents a permission sheet; it uses the grants you already allowed.
Step 6
What stays local
History, document maps and the capture buffer stay on this Mac. Removing the app does not delete history; use the app’s explicit history-deletion controls when you want that. When VLM assistance is needed, PDigger sends only the bounded evidence for that question to local.pdigger.com after you sign in. See Privacy.
Next: Search for Excel-related work, Ask what you did in Xero, or Turn Bitrix work into a skill.